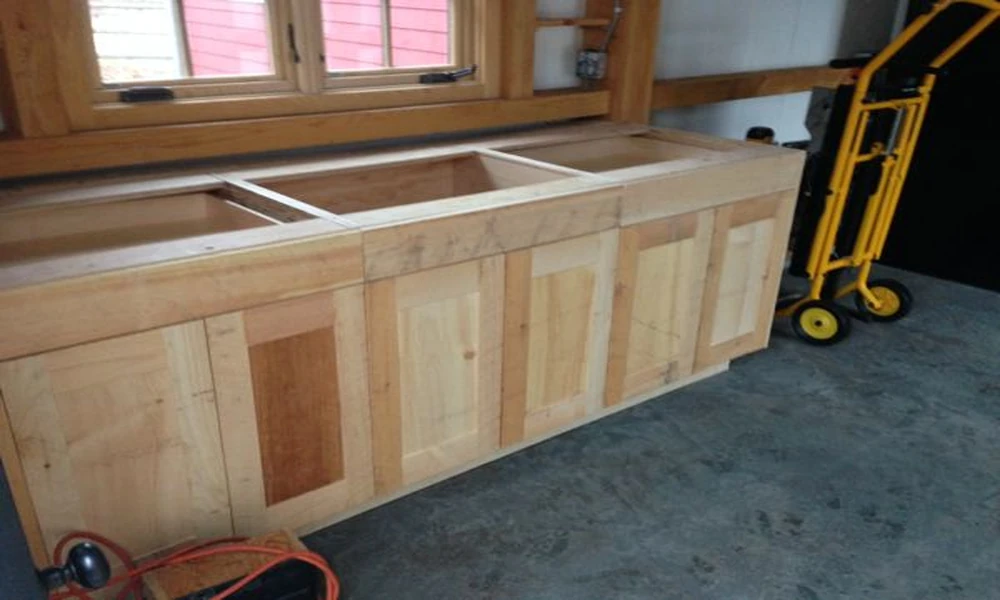
Walk into any finished kitchen and the cabinets look effortless: clean lines, doors that close with a soft click, drawers that glide. What you don’t see is the long chain of decisions behind them. Measuring, material choices, joinery and finishing each leave their mark on how the cabinets look in year one and how they hold up in year twenty.
If you’re thinking about hiring someone to make cabinets in Hudson, knowing how the process works helps you ask better questions and spot quality when you see it. Here is the build, stage by stage.
Stage 1: The Measure-Twice Walkthrough
Custom work starts in your actual room, not on a screen. A cabinetmaker records wall lengths, ceiling height, window and door placement, plumbing and electrical locations, and any spots where the walls aren’t square. Almost no house has perfectly square corners, which is one of the biggest reasons custom cabinets fit better than boxes built to a standard size.
This is also where function gets decided:
- Where do you stand when you prep food?
- Which side does the dishwasher door swing toward?
- Do you need a pull-out for trash, a tall pantry, or a spot for a mixer?
The answers shape the layout more than any catalog.
Stage 2: Design and Drawings
Next come the plans. Good drawings show every cabinet’s width, height and depth, the door and drawer arrangement, and how the pieces connect around corners and appliances. This is the cheapest time to change your mind. Moving a line on paper costs nothing, while moving a finished cabinet costs a lot.
Many remodelers also let you look at examples before committing. RR Remodeling, for instance, offers a virtual showroom on its website, a convenient way to browse styles and finishes before you meet in person.
Stage 3: Choosing Materials (Where Quality Quietly Lives)
Materials are the part of a cabinet you can’t easily judge from across the room, yet they determine its lifespan. A few terms are worth knowing:
- Solid wood is used for door frames, face frames and trim, and it can be sanded and refinished for decades.
- Plywood is often used for cabinet boxes because of its strength and stability.
- MDF and particleboard are engineered products common in panels and some boxes. They can perform well when made and sealed properly.
If composite wood is involved, ask about formaldehyde compliance. Federal rules cover hardwood plywood, medium-density fiberboard and particleboard, along with finished goods that contain them. The EPA’s page on formaldehyde emission standards for composite wood products explains that such products sold in the U.S. must be labeled as TSCA Title VI compliant. A reputable cabinetmaker should be able to tell you what materials they use and whether they meet this standard.
Stage 4: Milling and Cutting
Now the shop work begins. Boards are cut to size, panels are trimmed, and parts are labeled so each piece ends up in the right cabinet. Precision matters here, because a cut that is off by a sixteenth of an inch can show up as a visible gap three steps later. This is where the saying “we don’t cut corners, we miter them” earns its meaning. A mitered joint requires clean angles and careful fitting.
Stage 5: Joinery and Assembly
Joinery is how the pieces lock together. Strong cabinets use methods like dados, rabbets, dowels, pocket screws with glue, or dovetailed drawer boxes. Here’s what to look for when you inspect a cabinet:
- Drawer boxes with solid corners and no wobble
- Full-extension, soft-close slides that run smoothly
- Back panels that are fastened securely, not just stapled thin
- Square boxes that keep doors aligned over time
Glue, clamps and patience matter at this stage. Rushing assembly shows up later as sagging shelves and doors that never quite line up.
Stage 6: Sanding and Finishing
Finish is both beauty and armor. Every surface is sanded through progressively finer grits so the stain or paint goes on evenly. Then comes the finishing schedule: stain or primer, sealer, and protective topcoats. In a kitchen, the coating has to stand up to steam, grease, spills and daily wiping.
Two quick checks for quality finishing: run your hand along an edge (it should feel smooth, not rough or sharp), and look at the inside of doors and cabinet boxes. Good makers finish those too.
Stage 7: Installation Day
Installation is where craftsmanship meets your actual walls. Crews check the floor and walls for level, set base cabinets first, then uppers, and shim as needed so everything lines up. Doors and drawers are adjusted until the gaps are even. Countertops, hardware and trim then finish the look.
A tidy installer protects your floors, works cleanly and walks you through how to care for the finish before leaving.
Questions to Ask Before You Hire
Use this short list during your first consultation:
- Can I see photos or samples of recent cabinet work?
- What materials will you use for the boxes, doors and drawers?
- Are your composite wood materials TSCA Title VI compliant?
- Will you handle design, building and installation, or are those separate?
- Is the estimate itemized, and what’s the timeline?
- What kind of warranty or follow-up do you offer?
The Takeaway
Great cabinets are the result of hundreds of small, careful decisions, from the first measurement to the last drawer adjustment. When you understand those stages, you can judge quality with your own eyes and ask the questions that separate careful craftsmanship from a quick job.
For a free estimate on cabinetry or a wider kitchen remodel in Hudson and the surrounding area, RR Remodeling can be reached at 330-622-1778.